To gain you access the area through the right side rear wheel well. You will also need to remove the air box on top of the carbs, this is fairlly straight forward first remove the lid and the air filter. undo the four nuts on each of the carb trumpets taking care not to drop anything down the carbs. Remove the trumpets and place to one side. undo the jubilee clip on the bottom of the small breather hose on the left side of the engine, and undo the clip on the large air intake hose on the right side.You can now lift up the whole airbox but be carefull that the small brass grommets on the carburretor studs do not fall down the throats of the carbs. I then loosely replace the trumpets and tape thgem up to prevent objects falling down the throats.
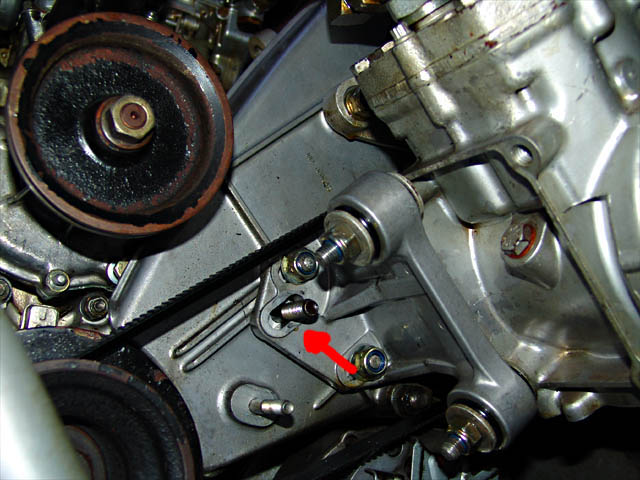
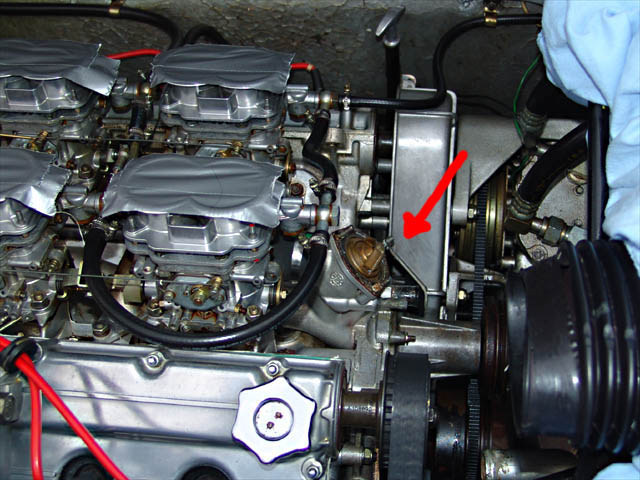
Removing the rear Cam cover is just a case of removing the three bolts pictured and then carefully sliding it out through the wheel well, its a tight fit against the frame but just slides past with a bit of wiggling!

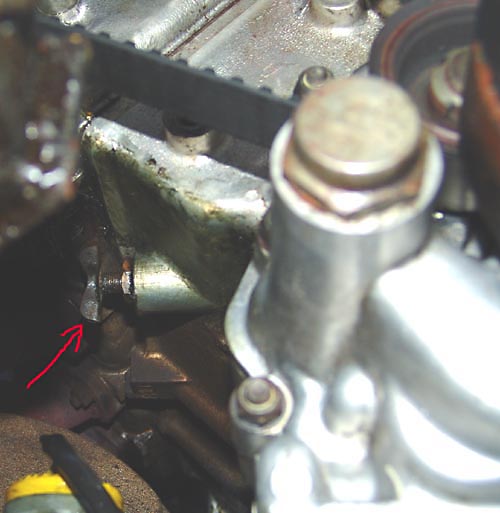
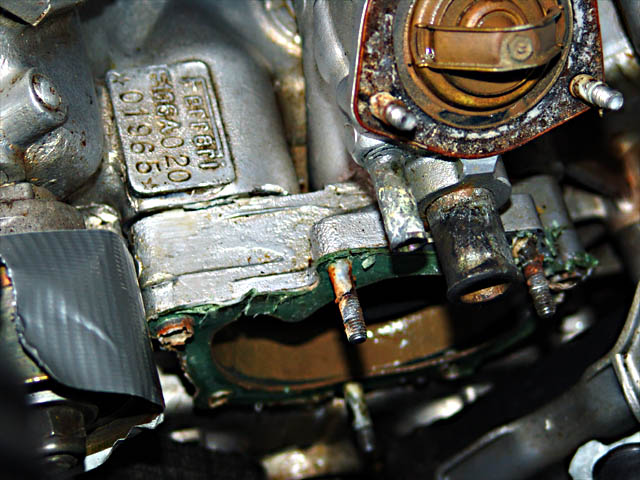
First problem, how to drain the fluid out of the system? Having removed the rear cam cover on the rear of the engine You can see what could best be described as a large wing nut (see photo, this the view looking from just forward and under the brake disk), this is a plug in the water jacket that you use to drain the coolant. simply loosen this to allow the coolant to flow out . I used a funnel and hose to collect the water, and prtected the surrounding area (CV joint Gators,etc) with a few plastic bags spread out.

Then remove the jubilee clips on the manifold/down pipe junction and prise apart the pipes, some coolant may be left in the diagonal pipe that runs to the lower front of the engine, but not too much.

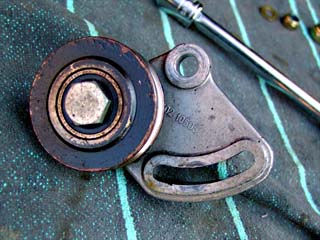
Now that everything is drained I removed the tensioner on the air conditioning belt, this may not be necessary but it does improve access and I used the oportunity to clean up and repaint the wheel of the tensioner.
Next remove the smaller hose from the expansion tank. I then plug up all the apertures with rag to stop things crawling inside.

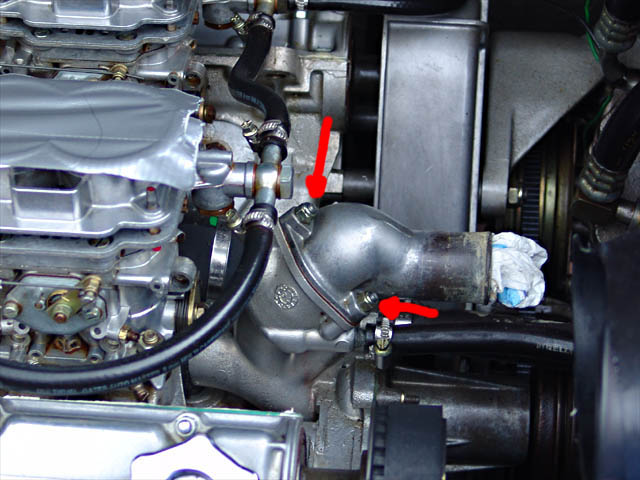
Remove the three bolts that hold the top of the manifold on, and simply remove the top part, taking care not to damage the gasket, I managed to successfully reuse mine.
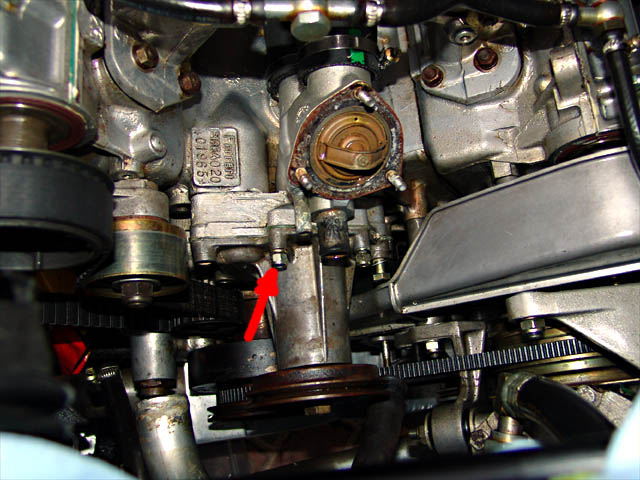
Now you have access to the pump itself, loosen all of the nuts first and then remove the bolts before finally removing the nuts from the studs completely.
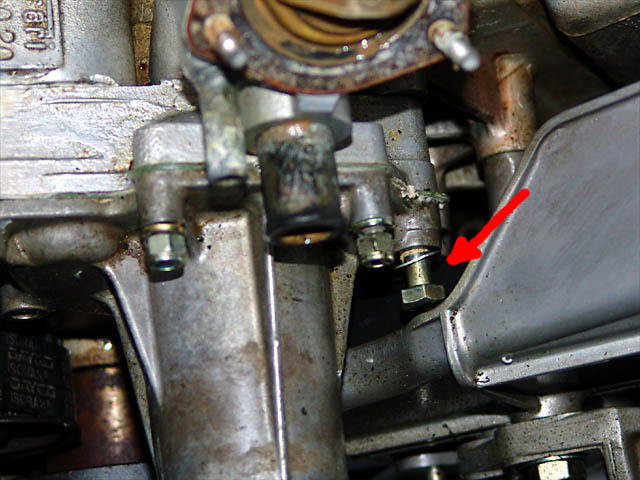
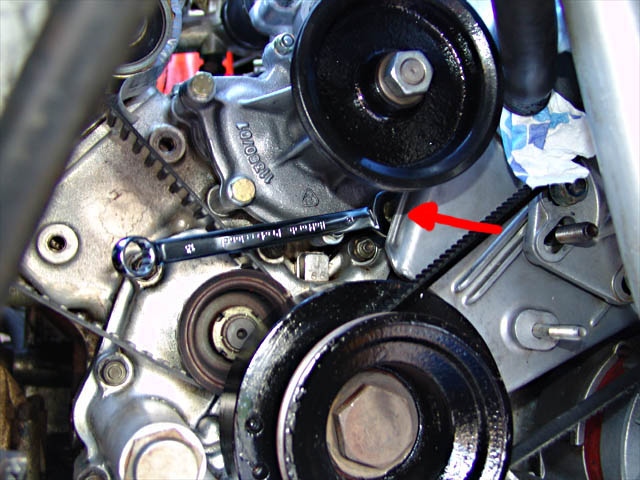
This is the hardest part of the task, and it nearly caused me to give up and get it trailered to a garage but after many hours pondering I figured out how to get the bolt past the forward cam cover.
With an open spanner, and what seems like a million twists of the bolt, you get the bolt to the position I have it in the photo below, i.e. the bolt is completely unscrewed from the threads put can't be pulled out because it snags on the forward cam cover. If you have, and you've undone all the other bolts and nuts, you may want to skip down 3 photo's and Remove or loosen the jubilee clips that hold the main hose on top of the engine. this will allow you to move the whole water pump unit and its housing to the rear slightly, only a few milimetres are needed, and then this allows you to pull the bolt out just clearing the forward cam cover. hoorah!
|
|
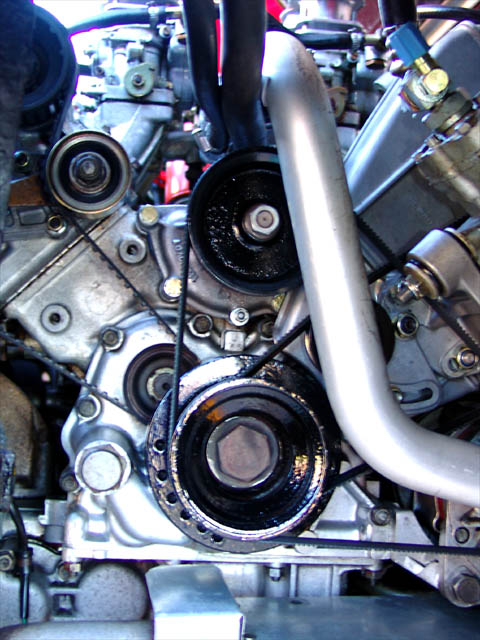
This is an out of sequence picture that shows the whole assembly that can be pulled rearwards to allow the bolt to be removed. |
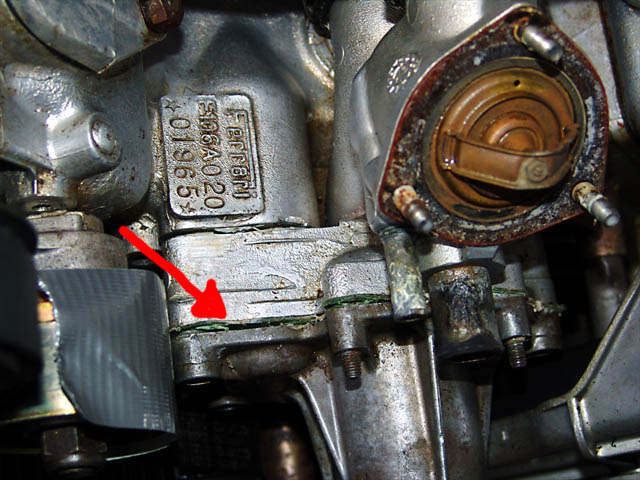
Now you can prise off the pump, this took a lot of effort using a wide bladed scew driver, but be careful not to damage the aluminium of the pump or the housing. the gasket will be ruined and you'll need a new one or try using some liquid gasket when you come to reassembly.
You should end up like this
If you haven't already done so, Remove or loosen the jubilee clips that hold the main hose on top of the engine.

You can the get the whole manifold off the engine so that you can clean it up. I attached the new/repaired pump to the manifold with the studs/nuts before attaching to the engine.

Reassembly is the reverse procedure:
This is the newly installed pump prior to refitting the cam cover! I spent quite a lot of time cleaning the area even though normally its hidden from view. Don't forget to check all the hose connections before refilling the system with coolant. Then bleed the system thoroughly following the manuals instructions.
You should now be finished and earned a beer or two.
